Depth of Corn Field
As a photographer, I am very attracted to pictures with a dramatic depth of field. It makes the subject pop, making the photograph more artistic. When I shoot, I try to create this effect by using a large aperture. It blurs my pictures quite nicely.
If you did not capture the image's depth of field the way you envisioned it while shooting, you can still make that happen using your Photoshop. It's super easy.
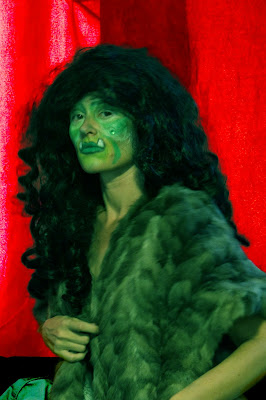
I found an image that I thought would look cool with a little more depth to it. I chose a piece from my monster series. This photo is of a fire monster. A corn field near my house caught fire and the scorched stalks and charred land made a nice backdrop for this sultry element.
After I applied a color balance layer to lessen the sunset's amber glow, I made a duplicate layer of the image by right clicking on the background image under the layers column, and then choosing DUPLICATE LAYER.
Now I am working on the copy.
Next I go to FILTER to BLUR to GAUSSIAN
I changed the radius to look a little more blurred, and hit OK. The whole copy looks blurry now.
Then I created a mask on the blurred copy (the mask icon is the circle inside rectangle, like a little camera).
I selected the GRADIENT TOOL. It's a square shaped icon in your tools.
Then I clicked on the side I wanted most blurred, in the corm example it's the top of the picture down to the burnt ground. And then I drew a line to the point I wanted to be in focus.
That's it, beautiful depth of corn field has been created!
To see more of my art: maliab.net


